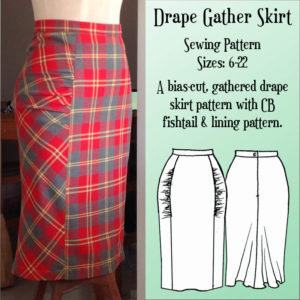
18 Sep Drape Gather Skirt – Sewing Instructions
At last some sewing patterns are making it onto the website! The first in the ‘Off-The-Rails’ series is the Drape Gather Skirt. This is a design from many years ago that has been a favourite in my wardrobe ever since. It’s also the first skirt my students cut in my Drape Skirt Patterns workshop. It has a straight grain centre front panel with a joined side front and back skirt panel that’s cut on the bias. Included in the back seam is a fishtail flare and an invisible zip. The wait finish is a strap waistband and included in the zip opening is a zip guard for a quality skirt.
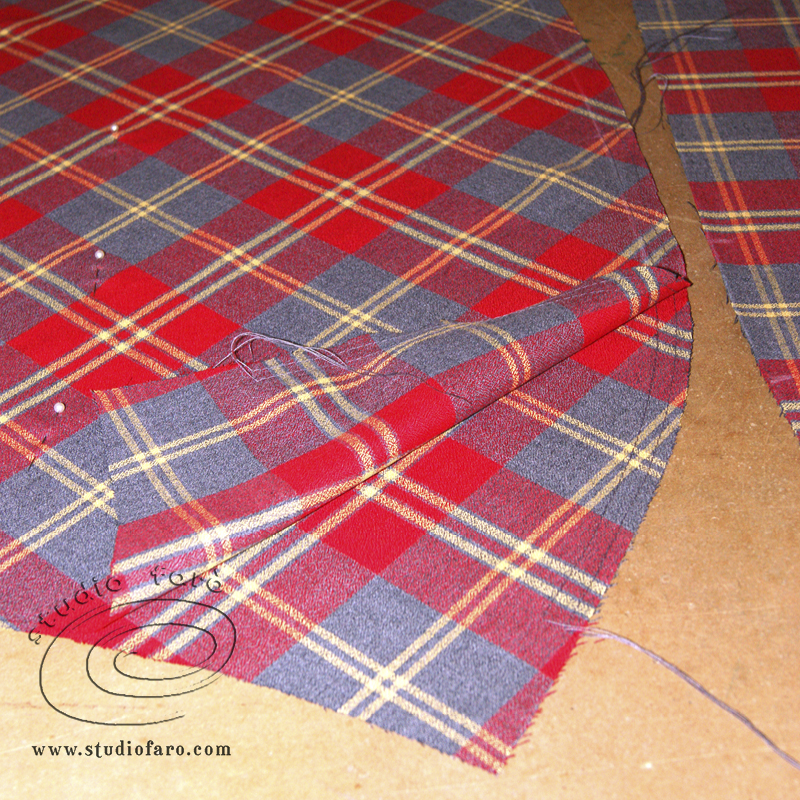
I’ve added a post that shows many options for your lay plans depending on fabric width. This sample was cut from a fabulous bright check, in a blend fabric of wool/polyester. There are four main pattern pieces for the skirt shell: Centre Front panel, Side/Back Skirt, waistband and zip guard. I’ll deal with the lining patterns in a separate post. The seam and hem allowances for the whole pattern are:
- Front Panel Seams – 1cm (⅜”)
- Centre Back Seam – 1.25cm (½”)
- Waistband and waistline – 1cm (⅜”)
- Hem Allowance – 2cm (¾”)
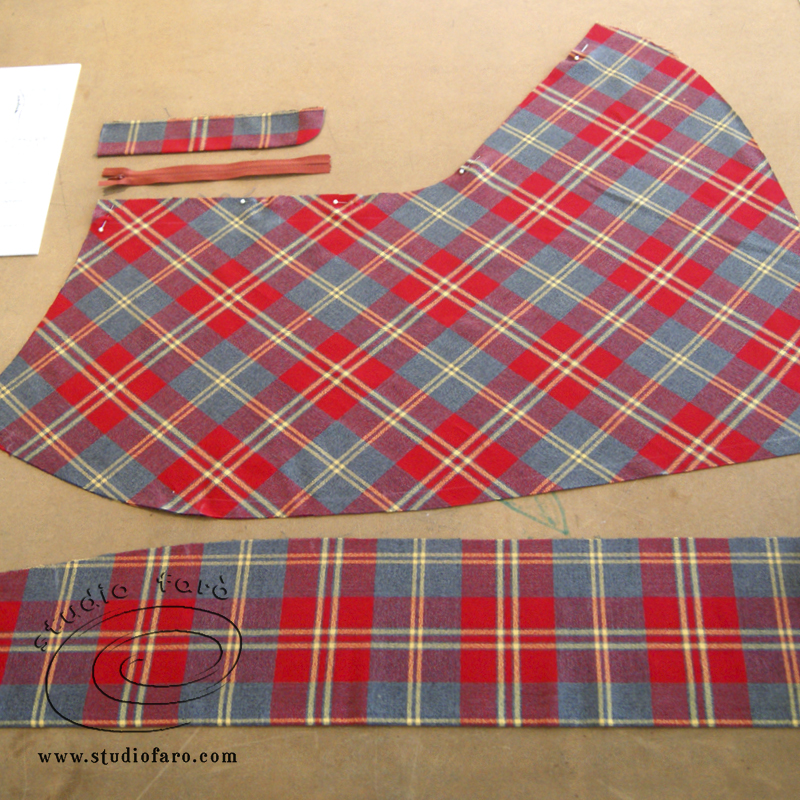
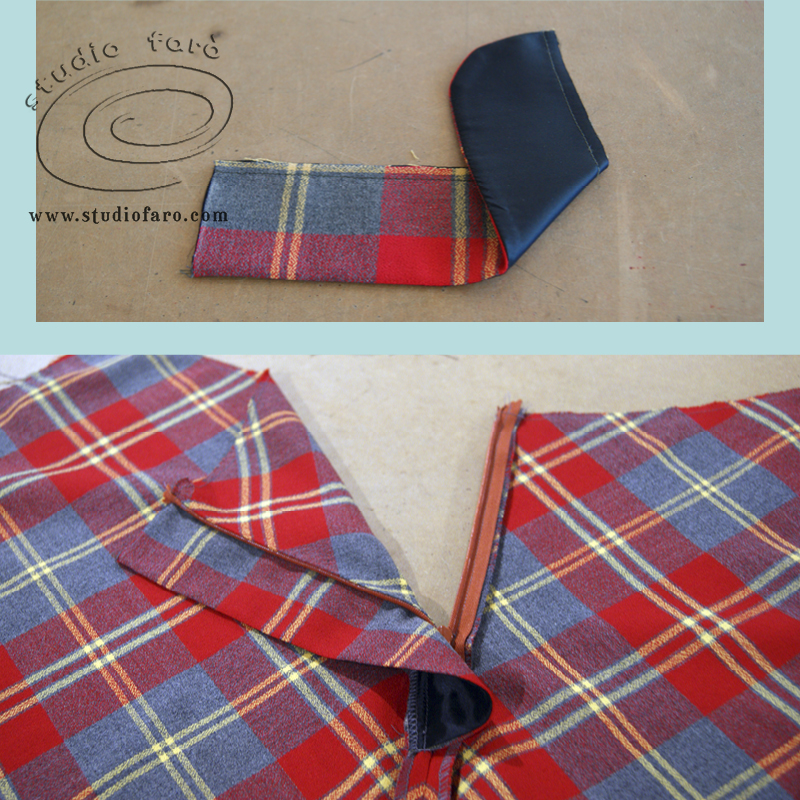
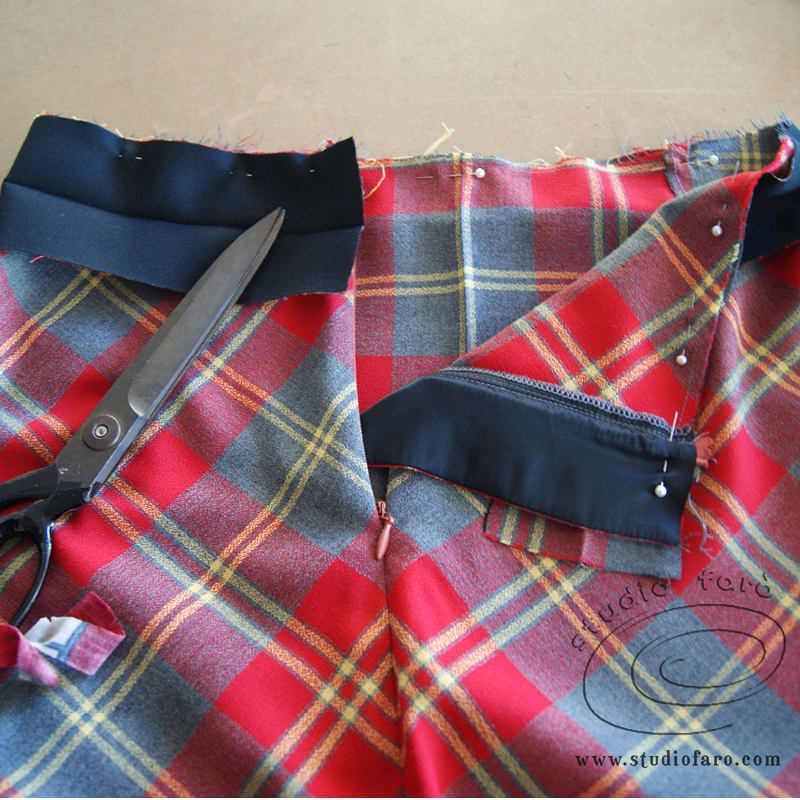
I always start sewing this skirt by dealing with the centre back seam first. Because it’s a zip seam, I overlock the edges of the fabric separately so I can have an open seam (1.25cm/ ½”). If you’re looking for a tutorial for inserting invisible zips then Ann, at 1 Puddle Lane Pattern Studio has a great tutorial that uses exactly the same method I use to make the best of a tricky job.
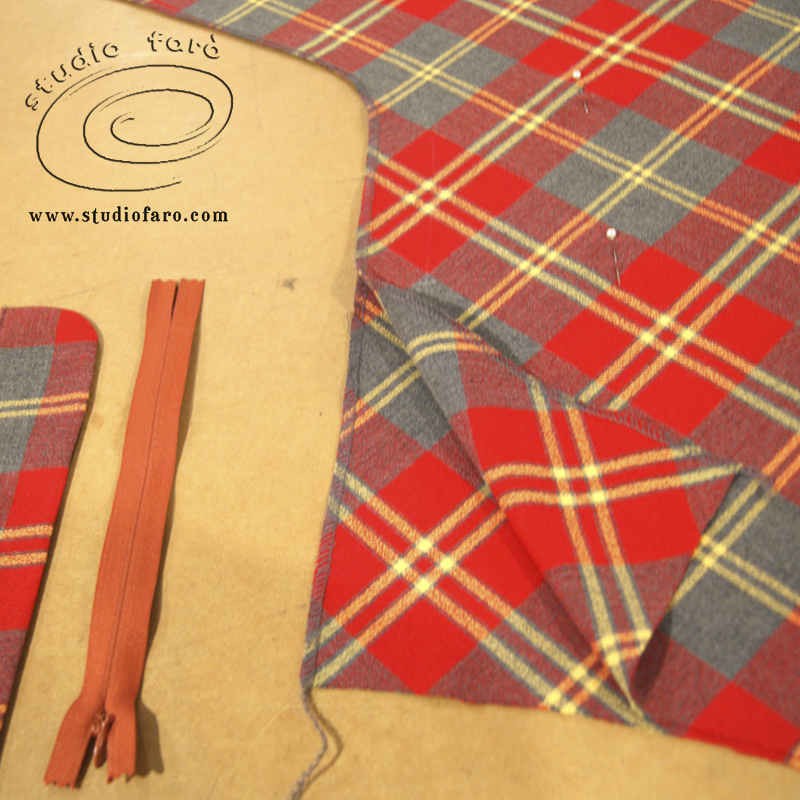
Insert the invisible zip in the seam before finishing the rest of the centre back seam. In this case, matching the checks along this seam is very important for the overall appearance of the skirt. I use both a regular zipper foot (to secure the zip tape in place) and the invisible zipper foot (to finish) to sew my invisible zips.
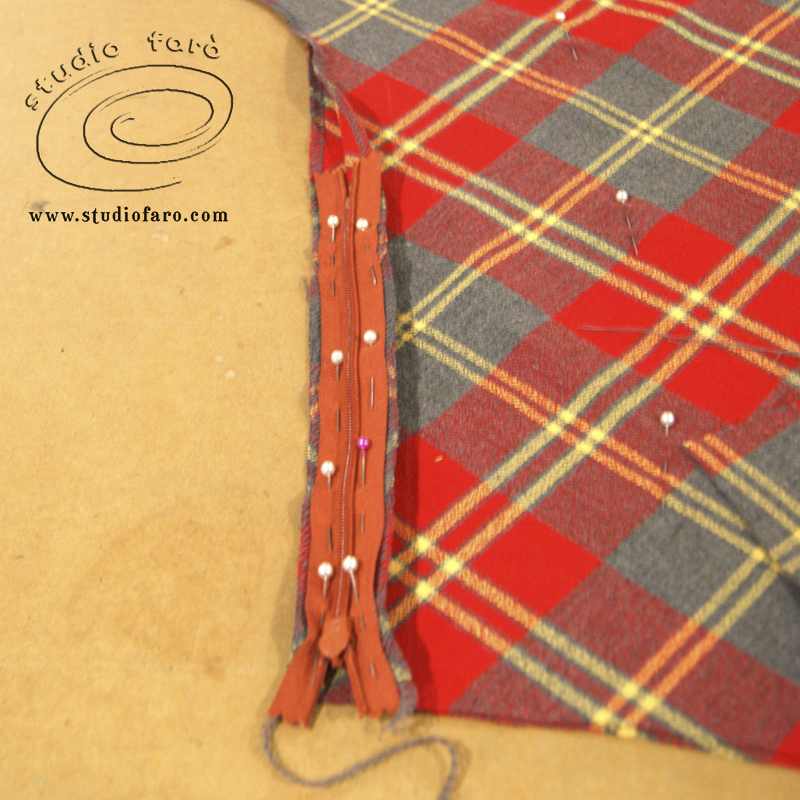
This time I was fortunate because the checks match across the zip and through the rest of the centre back seam. A happy moment. 🙂
To finish off the zip opening I like to add a lined zip guard. Place the zip guard and the zip guard lining, right sides together and stitch at 7mm (¼”) along the curved side. Turn the zip guard through and secure the straight side with a stay stitch. Then attach the zip guard to the right side of the zip opening.
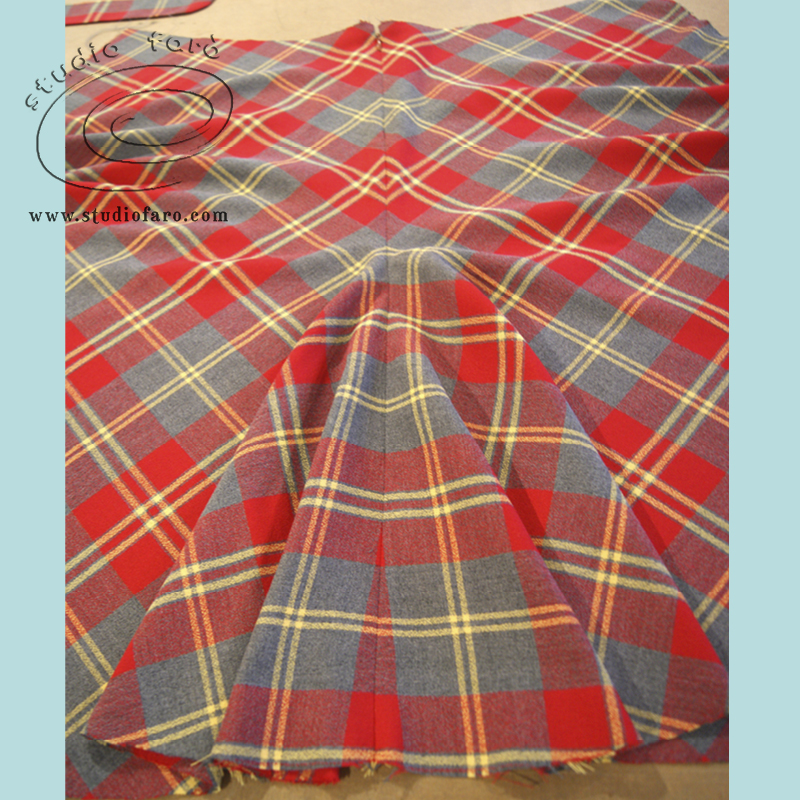
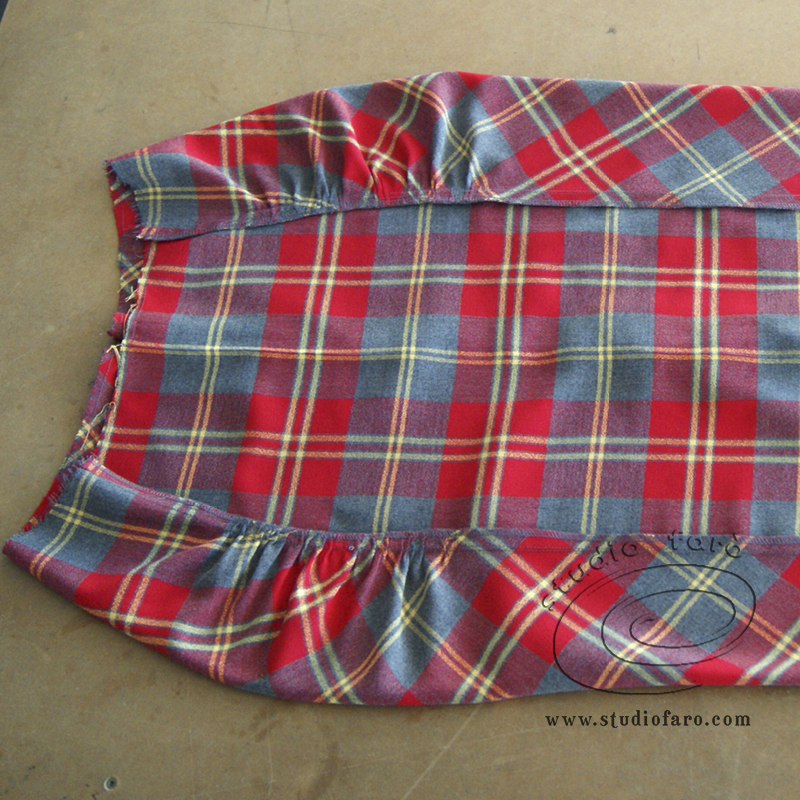
The next step is to prepare the gather drape seam for sewing. Run two rows of gathering stitch, along the gather seam on the side/back panel, between the notches for both side/back skirt pieces.
Tie off the gather thread ends at one end only and pull the other gather threads up until the notches on the side/back skirt match the centre front panel.
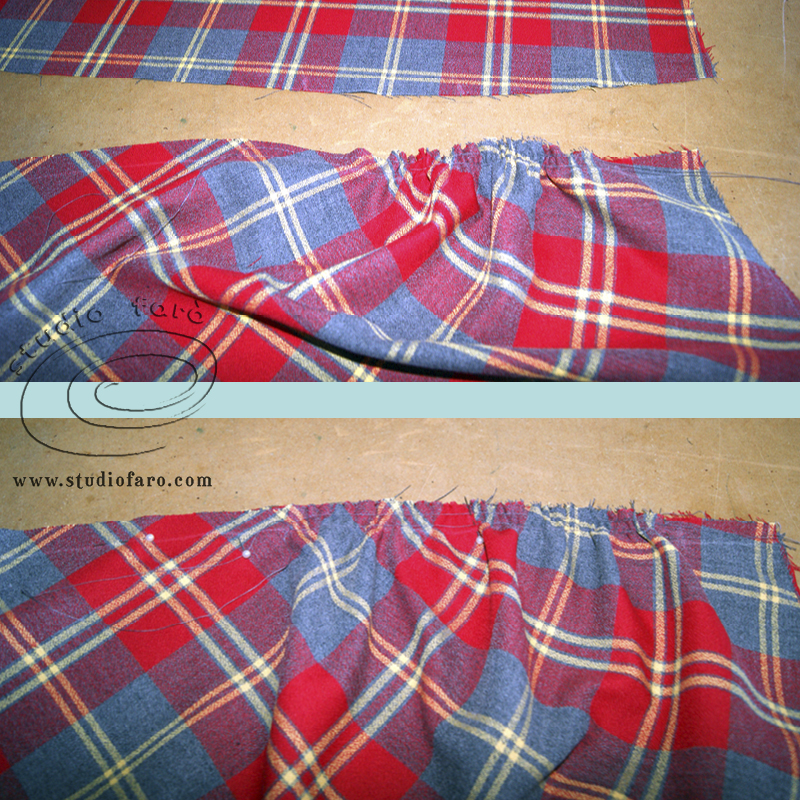
Once you have the gathers evenly distributed for the front panel seams, stitch the seam at 1cm and overlock together. Press the front panel seams toward the centre front and stay stitch the waistline before adding the waistband.
Stitch one side of the waistband to the skirt waistline, including the top of the zip guard. This should leave 1 cm (⅜”) free at each end of the waistband for turnings. Fold the waistband back on itself at the half way mark to secure these ends. Turn them through to final off the waistband. The inside edge of the waistband can either be turned under to finish the inside of the skirt waistband. Or it can be finished with a decorative bind. Stitch through from the outside of the skirt, along the waist seam, sinking the stitch into the seam and securing the waistband to finish.
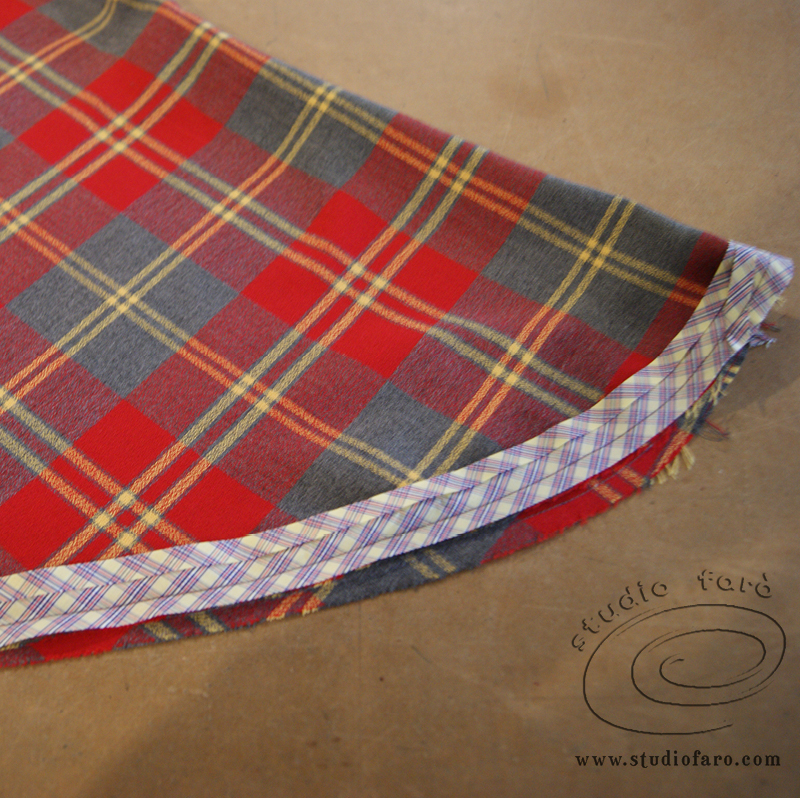
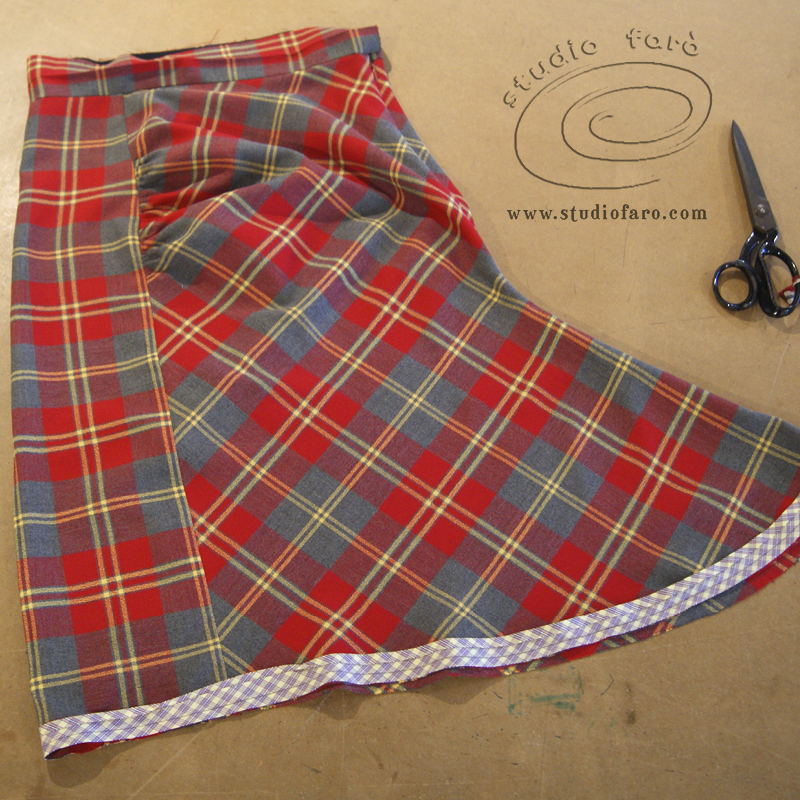
One of my favourite hem finishes is to use bias binding (often contrasting) as a clean and decorative trim. The advantages of this method is that the bias binding can be used to control the most curved and difficult parts of the hem turning. By simply stretching the bias bind as you stitch it to the hem curve you’ll shorten the hem curve and make it sit easily as you press it into place.
For a tailored finish I’ll hand stitch the hem in place. If I find I like the fit of this skirt sample I may consider adding lining later. If you unpick the last row of stitching on the waistband a lining can be included easily. I’ll deal with the sewing and inclusion of the lining in a separate post.
This is one of my few sewing photo tutorials, so I’d welcome any feedback you have for improving my instructions.
If you have any questions about this pattern or the sewing process, don’t hesitate to use the comments section below. 🙂 If you’d like to share your photos of this skirt you can join my Facebook group, or Instagram. To be sure I see the posts please use my handle @studiofaro or the hashtag #DrapeGatherSkirt.
Take this moment to sign up for my fabulous newsletter! Every month or so I send an email newsletter with new website content and always, always an enormous discount code for all my sewing patterns, garment blocks and pattern making instructions.
This discount code is for subscribers only. Don't miss out!
No Comments