19 Feb Grading the Vintage Capri Pants
Continuing on from my earlier post, Decoding Vintage Patterns, the following post covers the steps I’ll take to grade the pattern for my own personal fitting. It also gives me the opportunity to share with you one of my favourite pieces of pattern making kit; my ‘Variator’ grading machine.
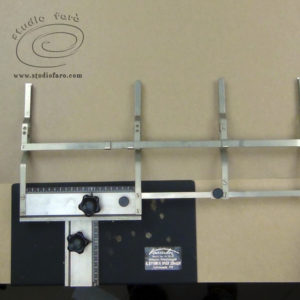
I’ve had this machine for over ten years now, and it is such a pleasure to use. The accuracy of the gearing when placing just millimeters extra onto a pattern is a delight. The pattern is held in the metal clamps, set on the front of the machine. The grading increments are calculated and added using movements along the X, Y axis, represented by the two large knobs. The pattern shape is used as a template to mark the larger sizing of the pattern after each move of the mechanism.
Before starting the grading process, I always make a grade plan (diagram below). That is a detailed sketch of the areas to be graded and the amount I’ll grade for each point on the pattern. It’s far safer to have this all worked out before starting to grade to prevent any confusion during the process. If I commission a specialist to grade my patterns by computer, I always have to provide the grade plan, according to my size chart.
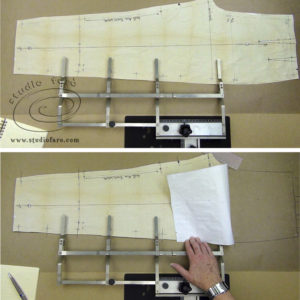
When using the Variator, I work in a clockwise direction adding grade increments, tracing the outline of the pattern for each point graded. If I’m at all concerned about getting the correct amount of increase in size for a pattern, I often trace the original pattern onto the card before beginning the grading. That way I can measure and check the difference between the two patterns.
After all points on the pattern have been graded and marked, I then use both the pattern and specialist rulers to complete the outline of the rest of the pattern. The ruler you see in the above image is one of my favourites, a trouser curve. It’s absolutely ideal for shaping the inside and outside leg seams on trouser patterns. I also find it’s just the thing when shaping the seams in my two-piece sleeves for jacket patterns.
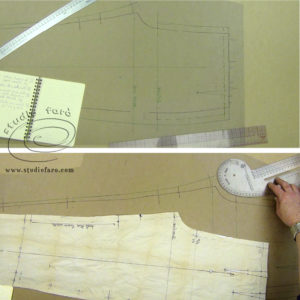
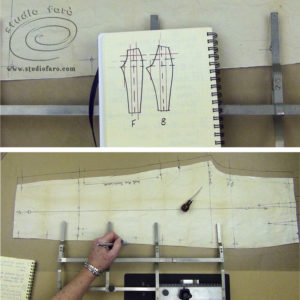
As soon as I’m happy with the outline of the pattern, I establish the correct position of the grain of the front and back trouser pattern. Then use the grain line to establish the right angle lines that are the hip, crotch and knee level of the pattern. The ruler you see in the above photo is a French Curve. I use it to make clean crotch curves, front and back, for all my trouser patterns.
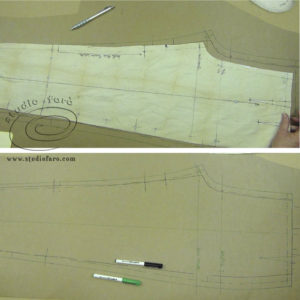
The final detail on the front and back trouser leg is to mark in the waist darts that create the shaping for the waist.
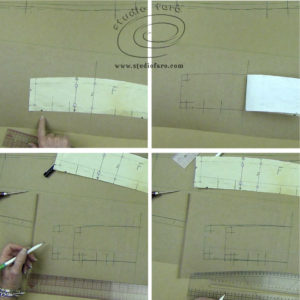
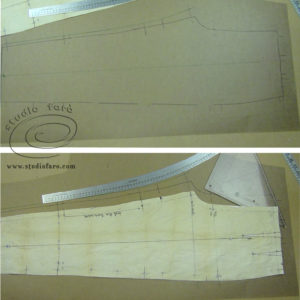
The rest of the pattern, front and back waistband pieces, will also have to be graded to match the waistline of the new front and back trouser. Use your original grade plan to match the grade rules through to the waistband pieces.
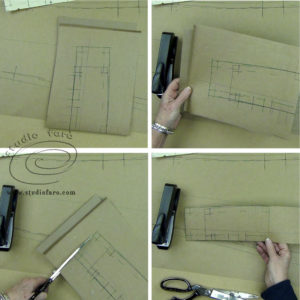
Once the grade is complete then I always walk all seams and pattern pieces together to check that the new size pattern fits together well. Now that the new size trouser pattern is complete, the next stage is to cut a calico toile to check the fit and balance of my vintage trouser. Fair warning, it may take a while for this to happen. Sample making is one of my least favourite tasks, so I’ll do my best get to it soon. 😉
Addendum: Since grading this pattern I’ve had to close my studio as we are currently between properties. The original pattern didn’t make the move so I won’t get the opportunity to sample and test my grading. Maybe sometime in the future I’ll be able to put together a different grading post to take you all through the process of testing your grade.
No Comments